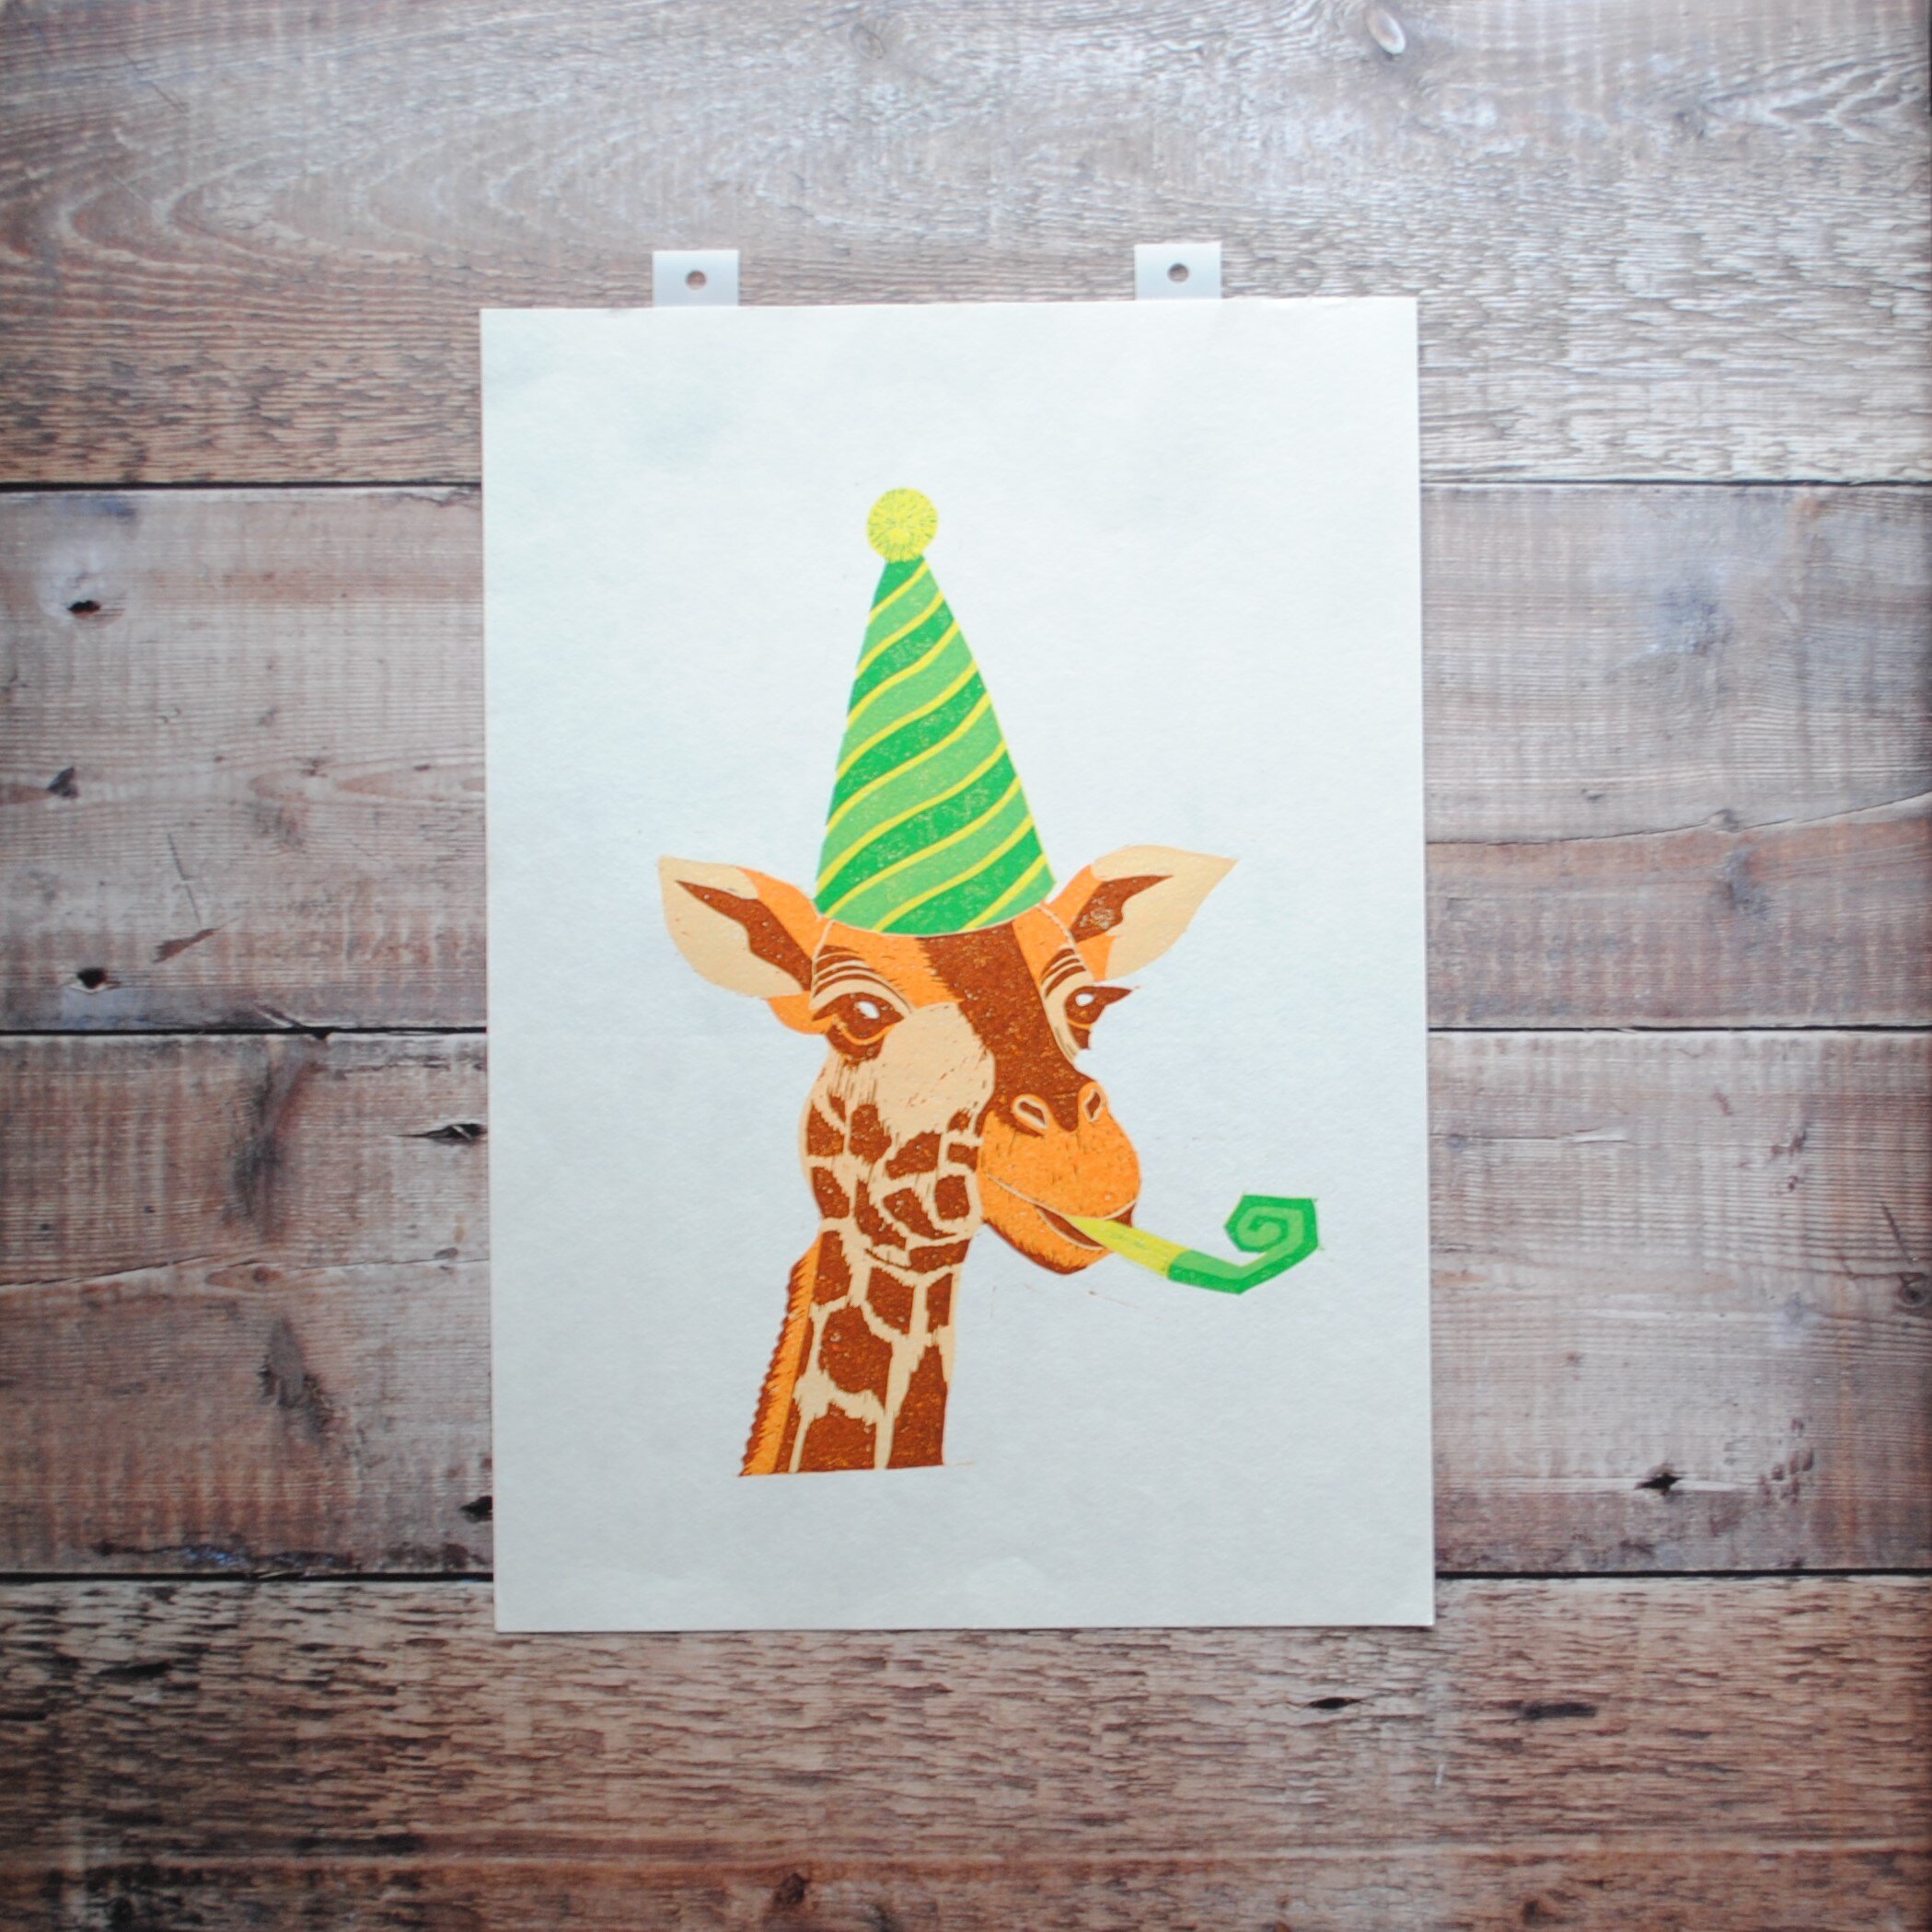
The Creation of my Giraffe Linocut Print
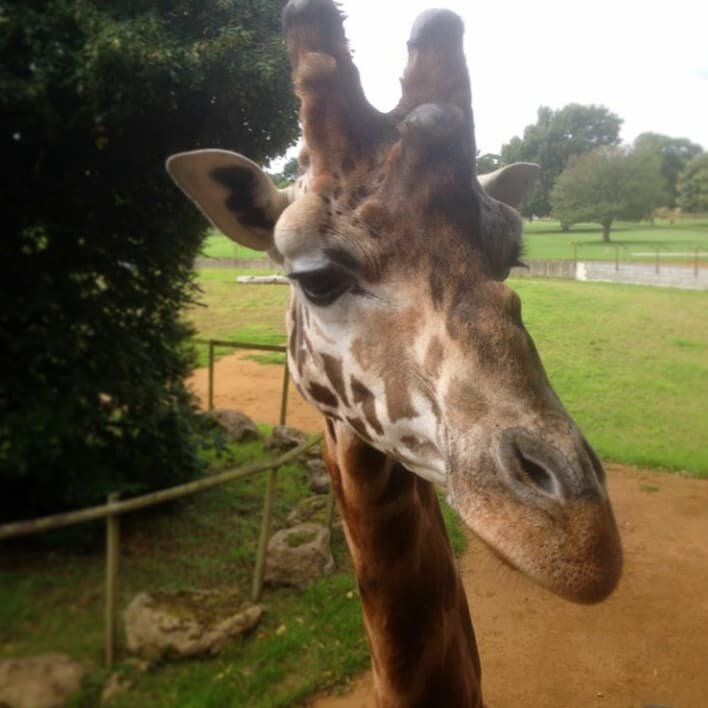
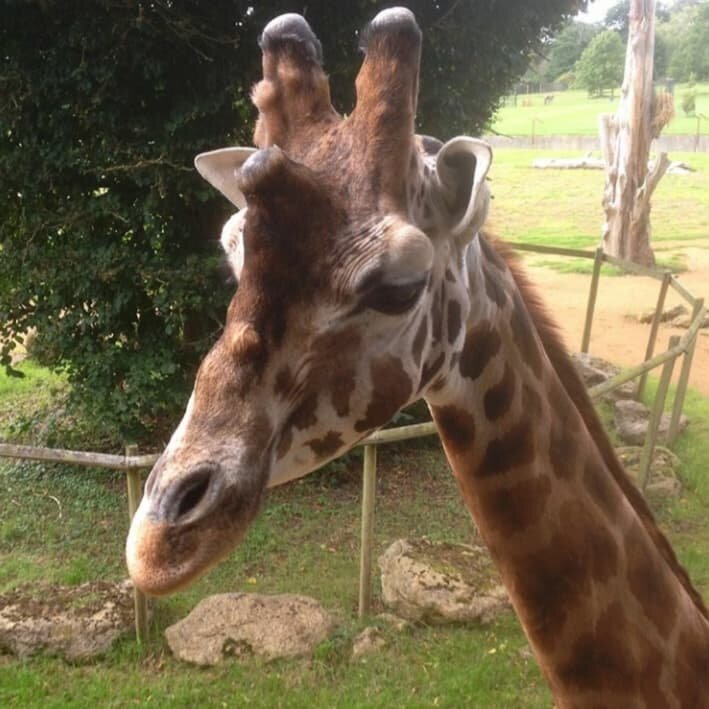
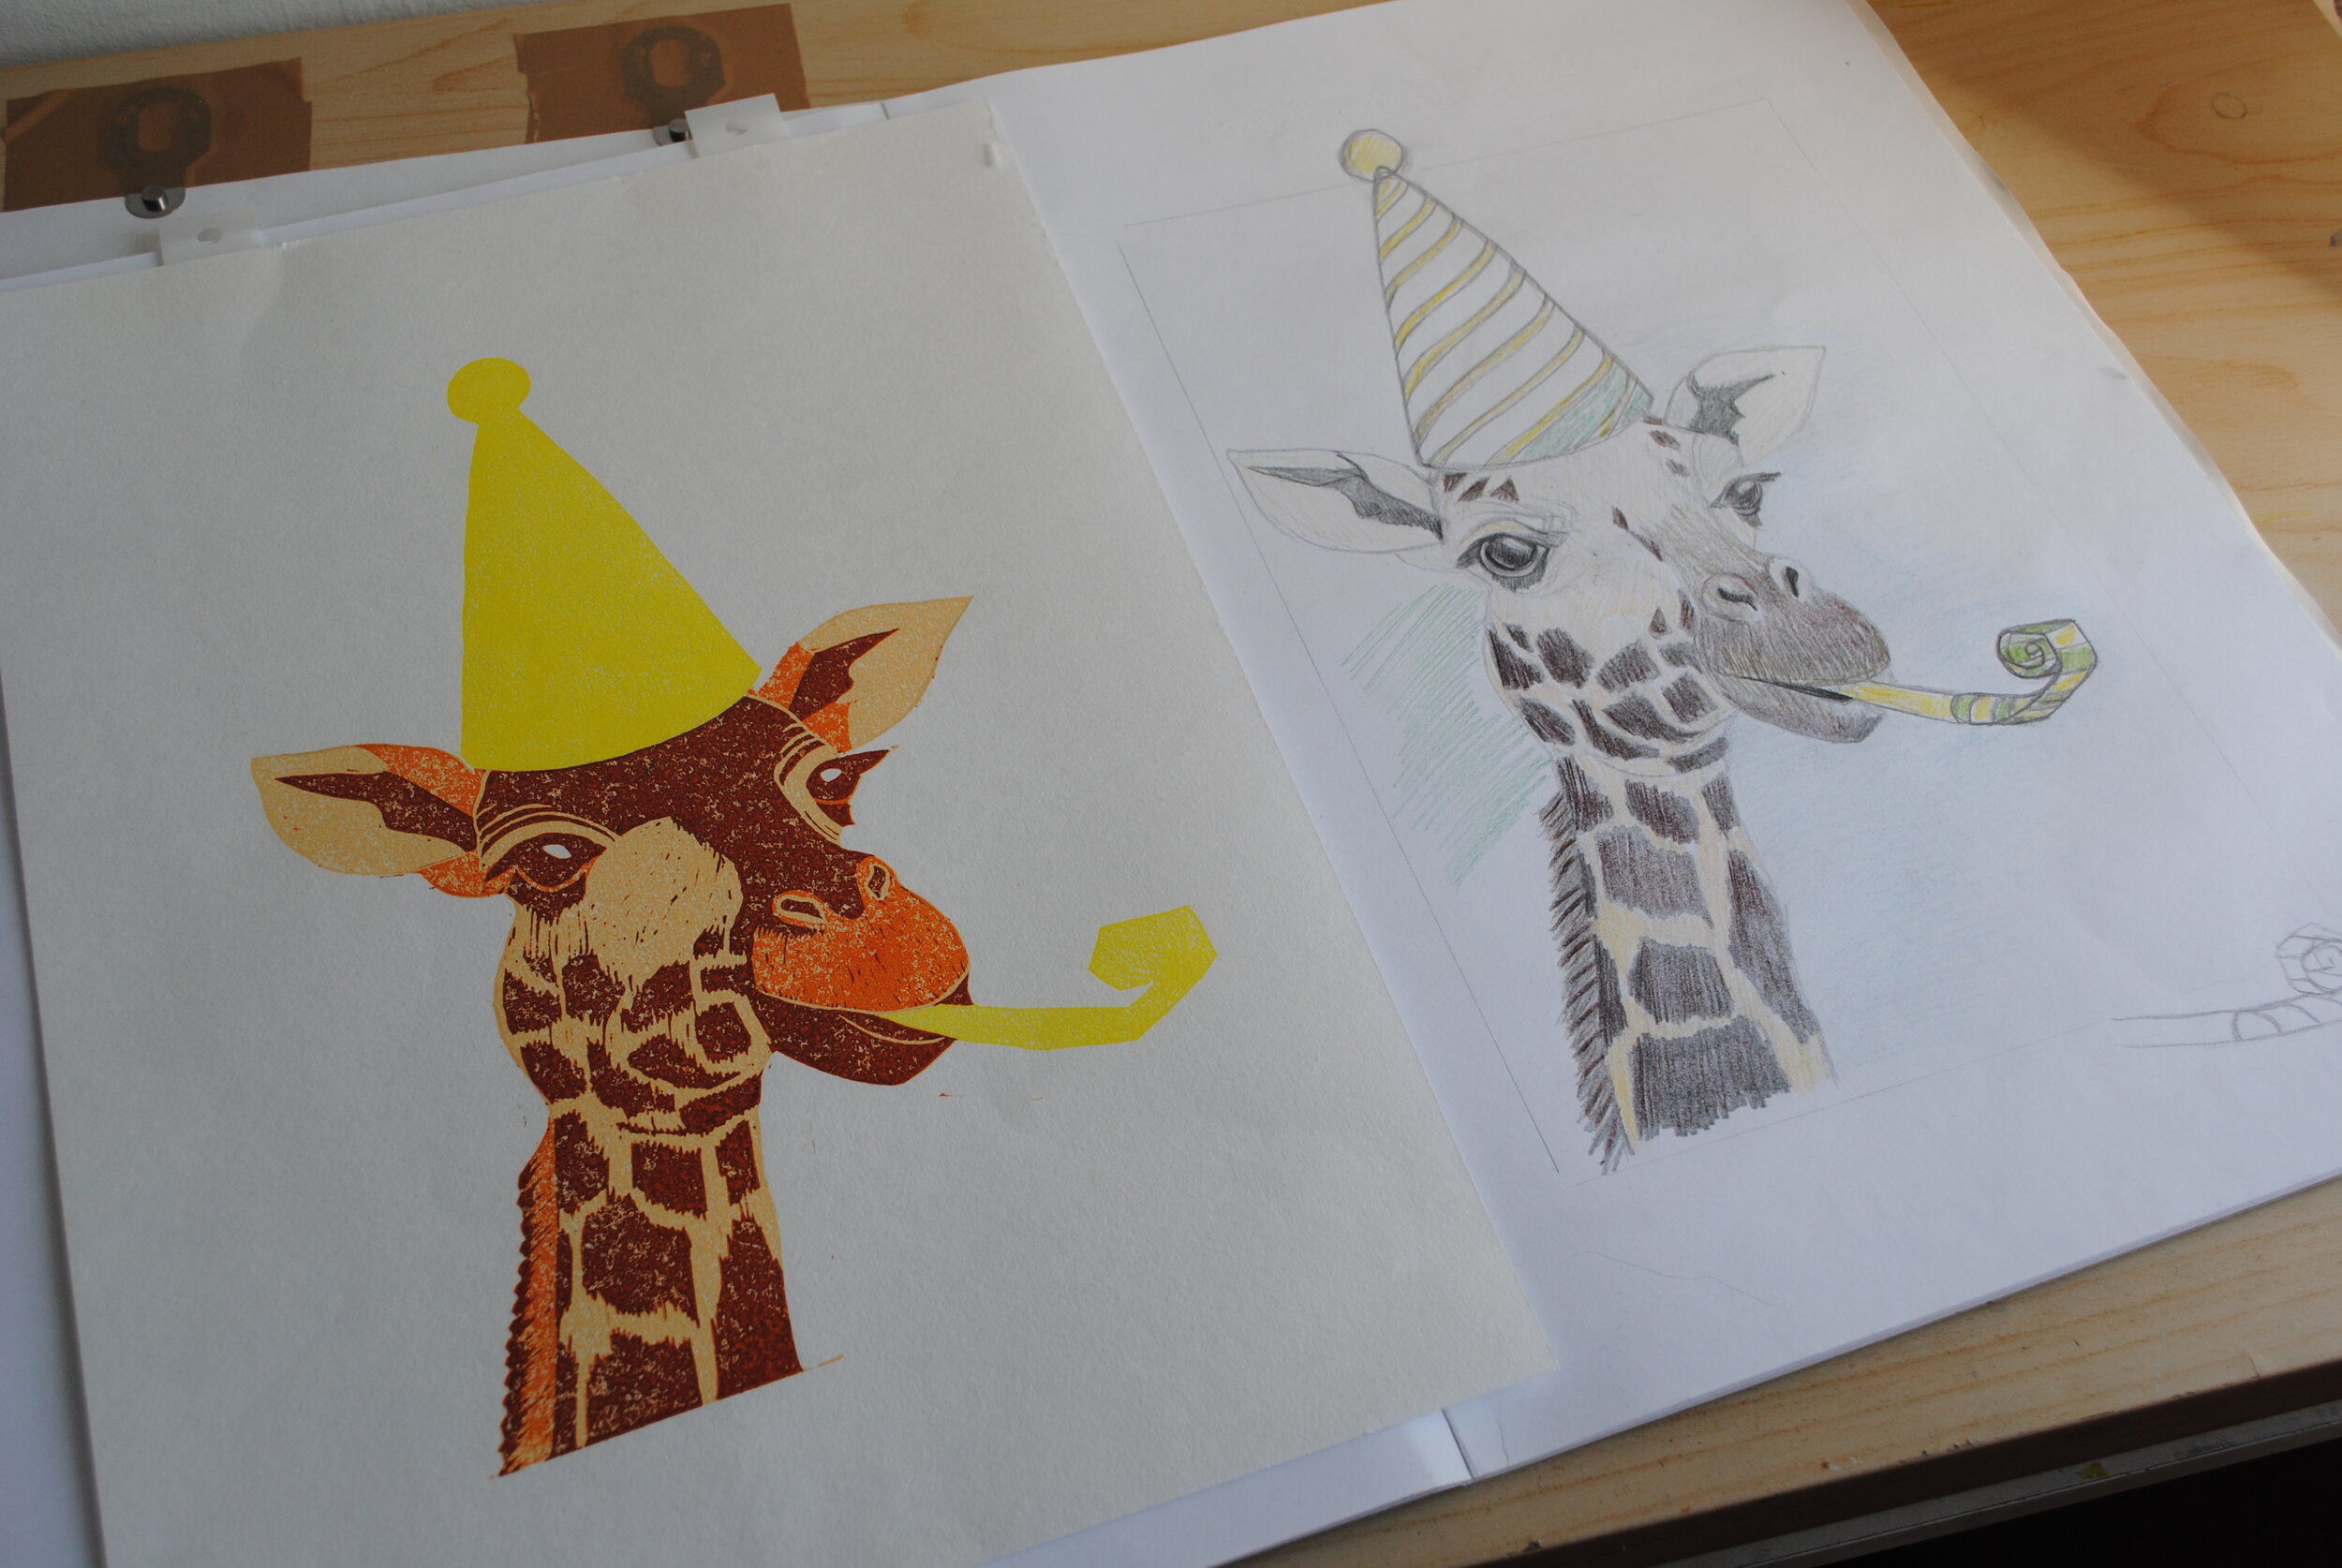
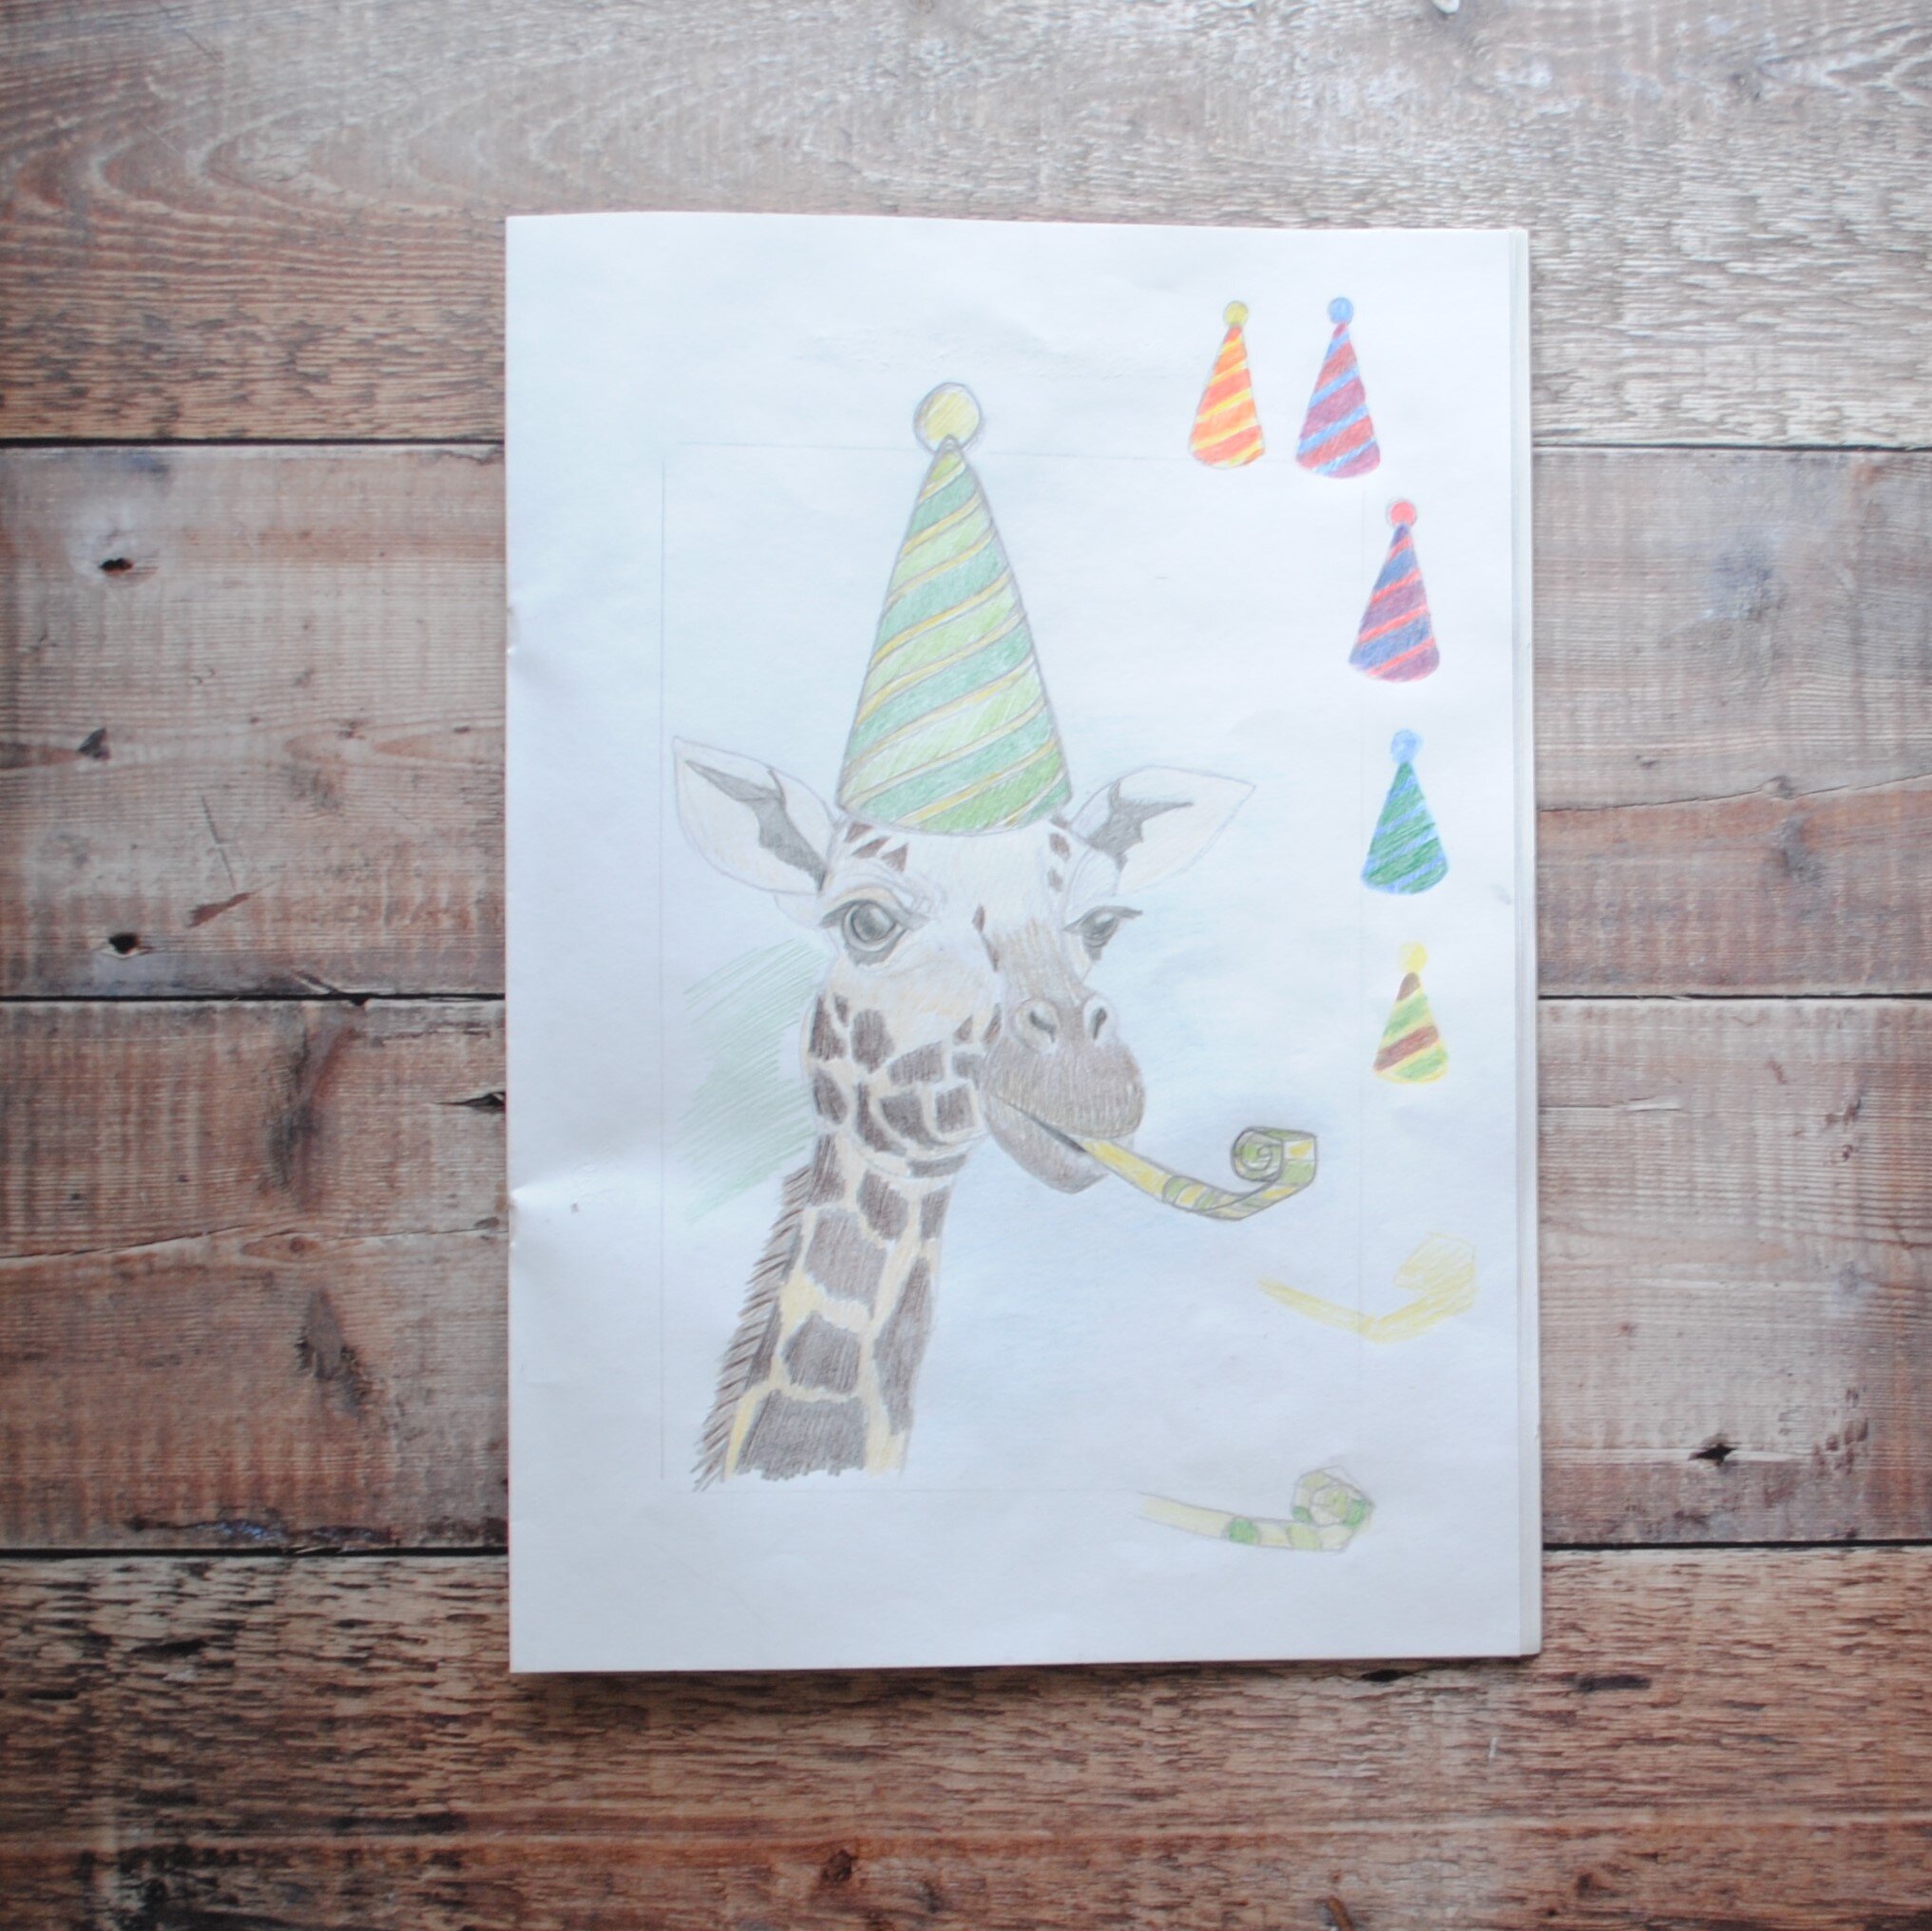
All my illustrated designs start as a pencil drawing. I use images of giraffes for inspiration. Below are photographs that I took when visiting the Cotswolds Wildlife Park, the walkway they have created allows you to come face to face with these beautiful creatures.
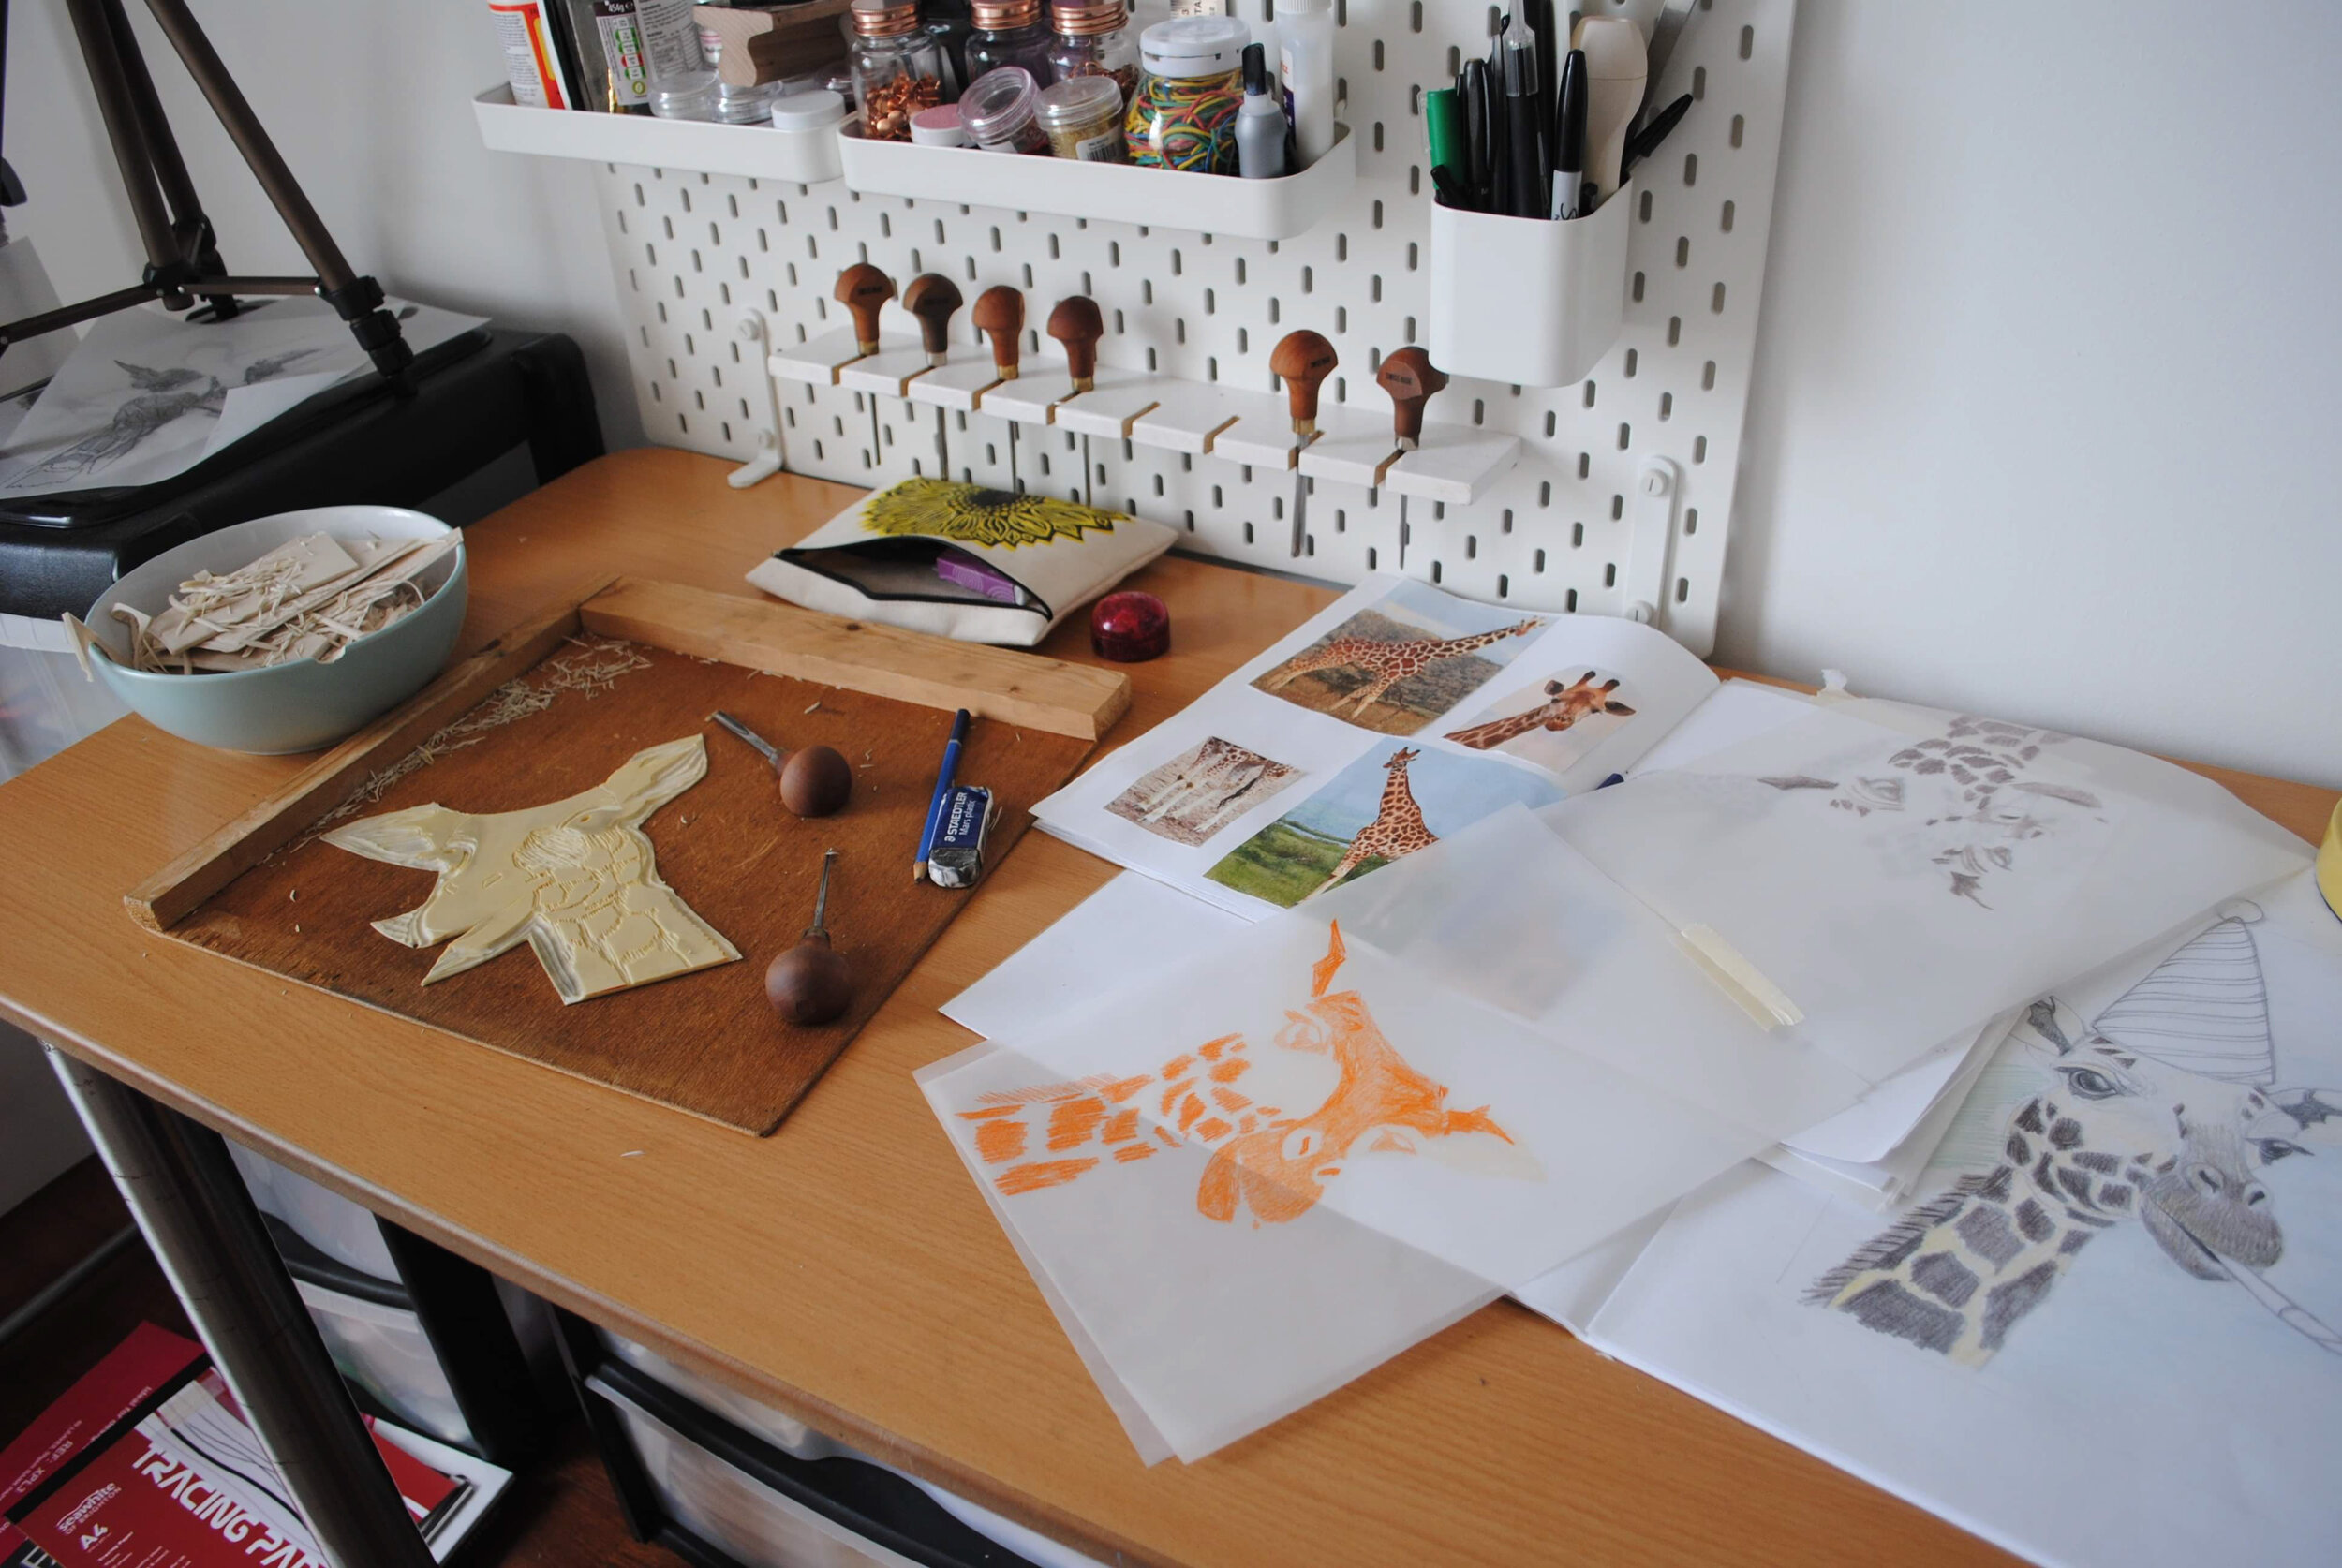
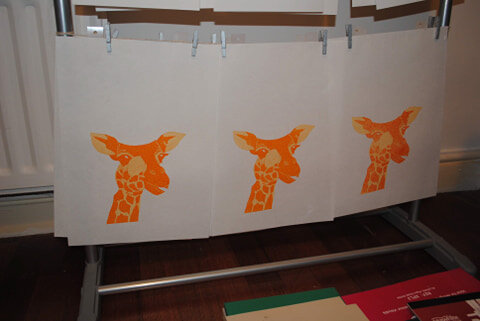
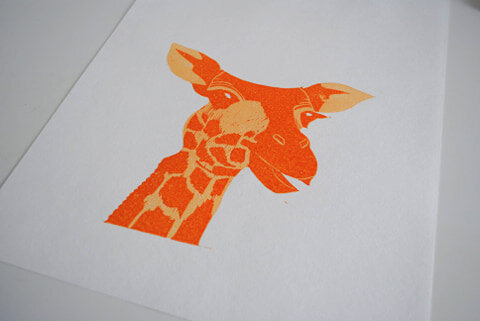
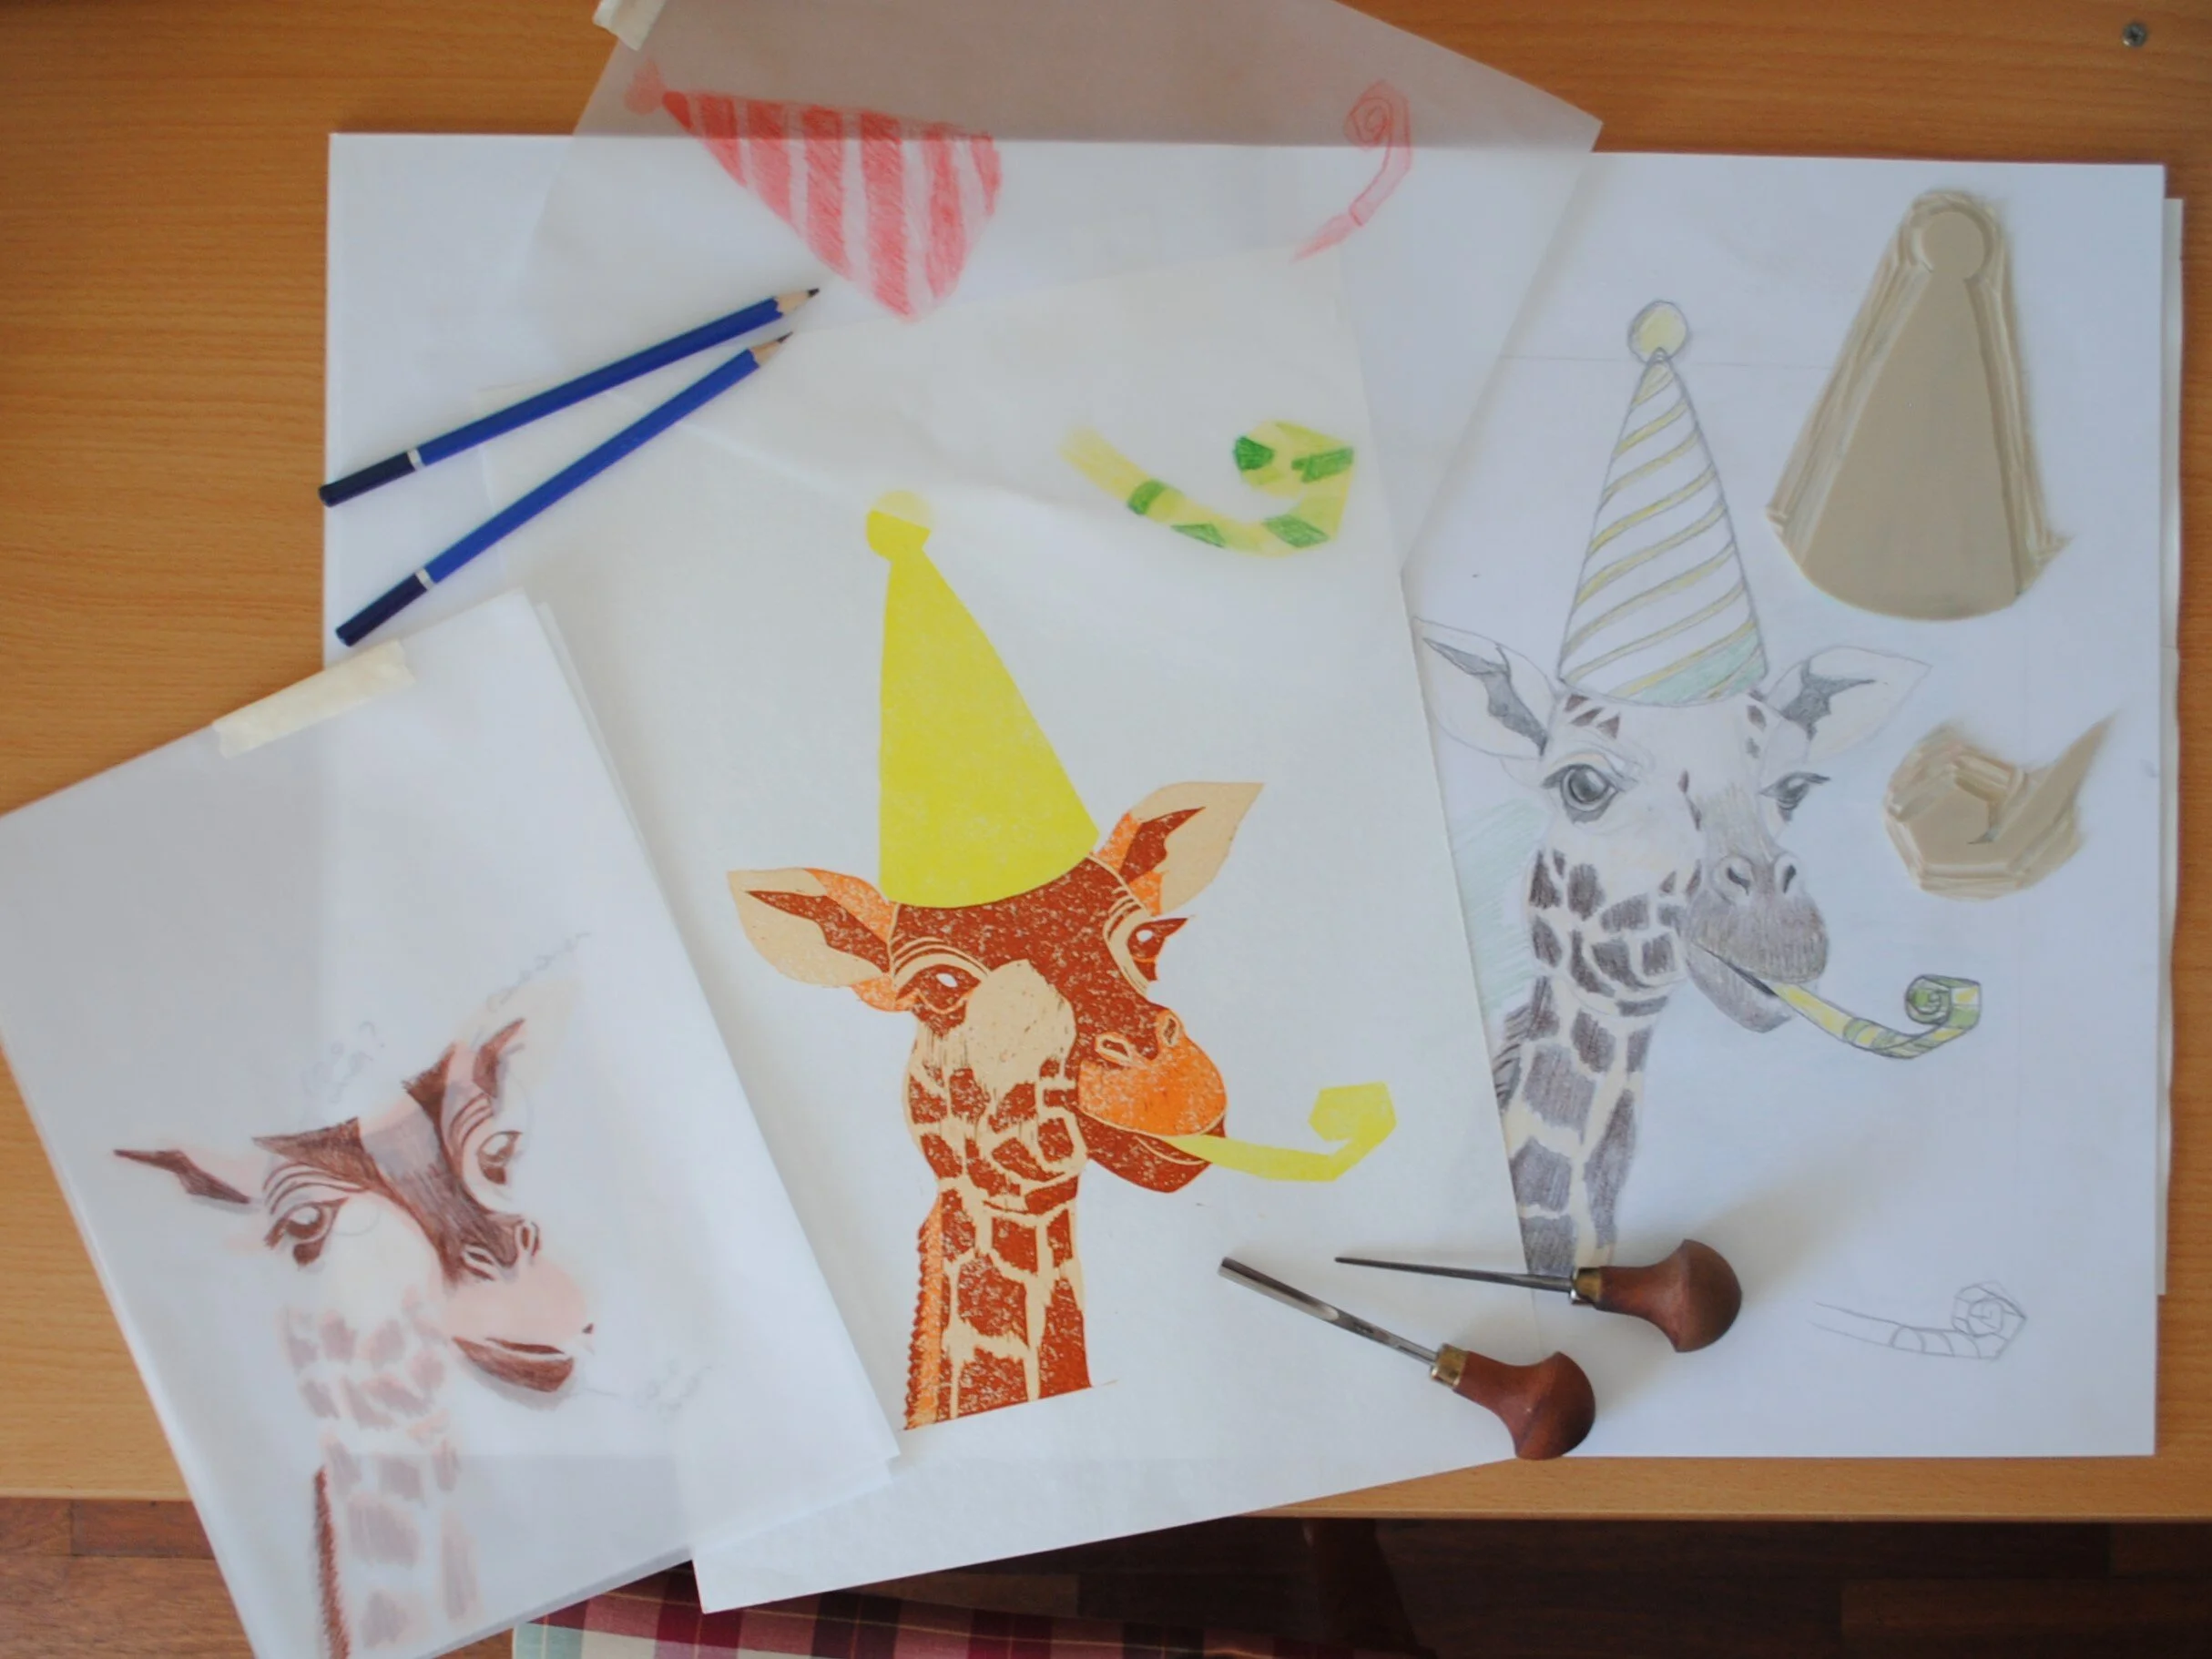
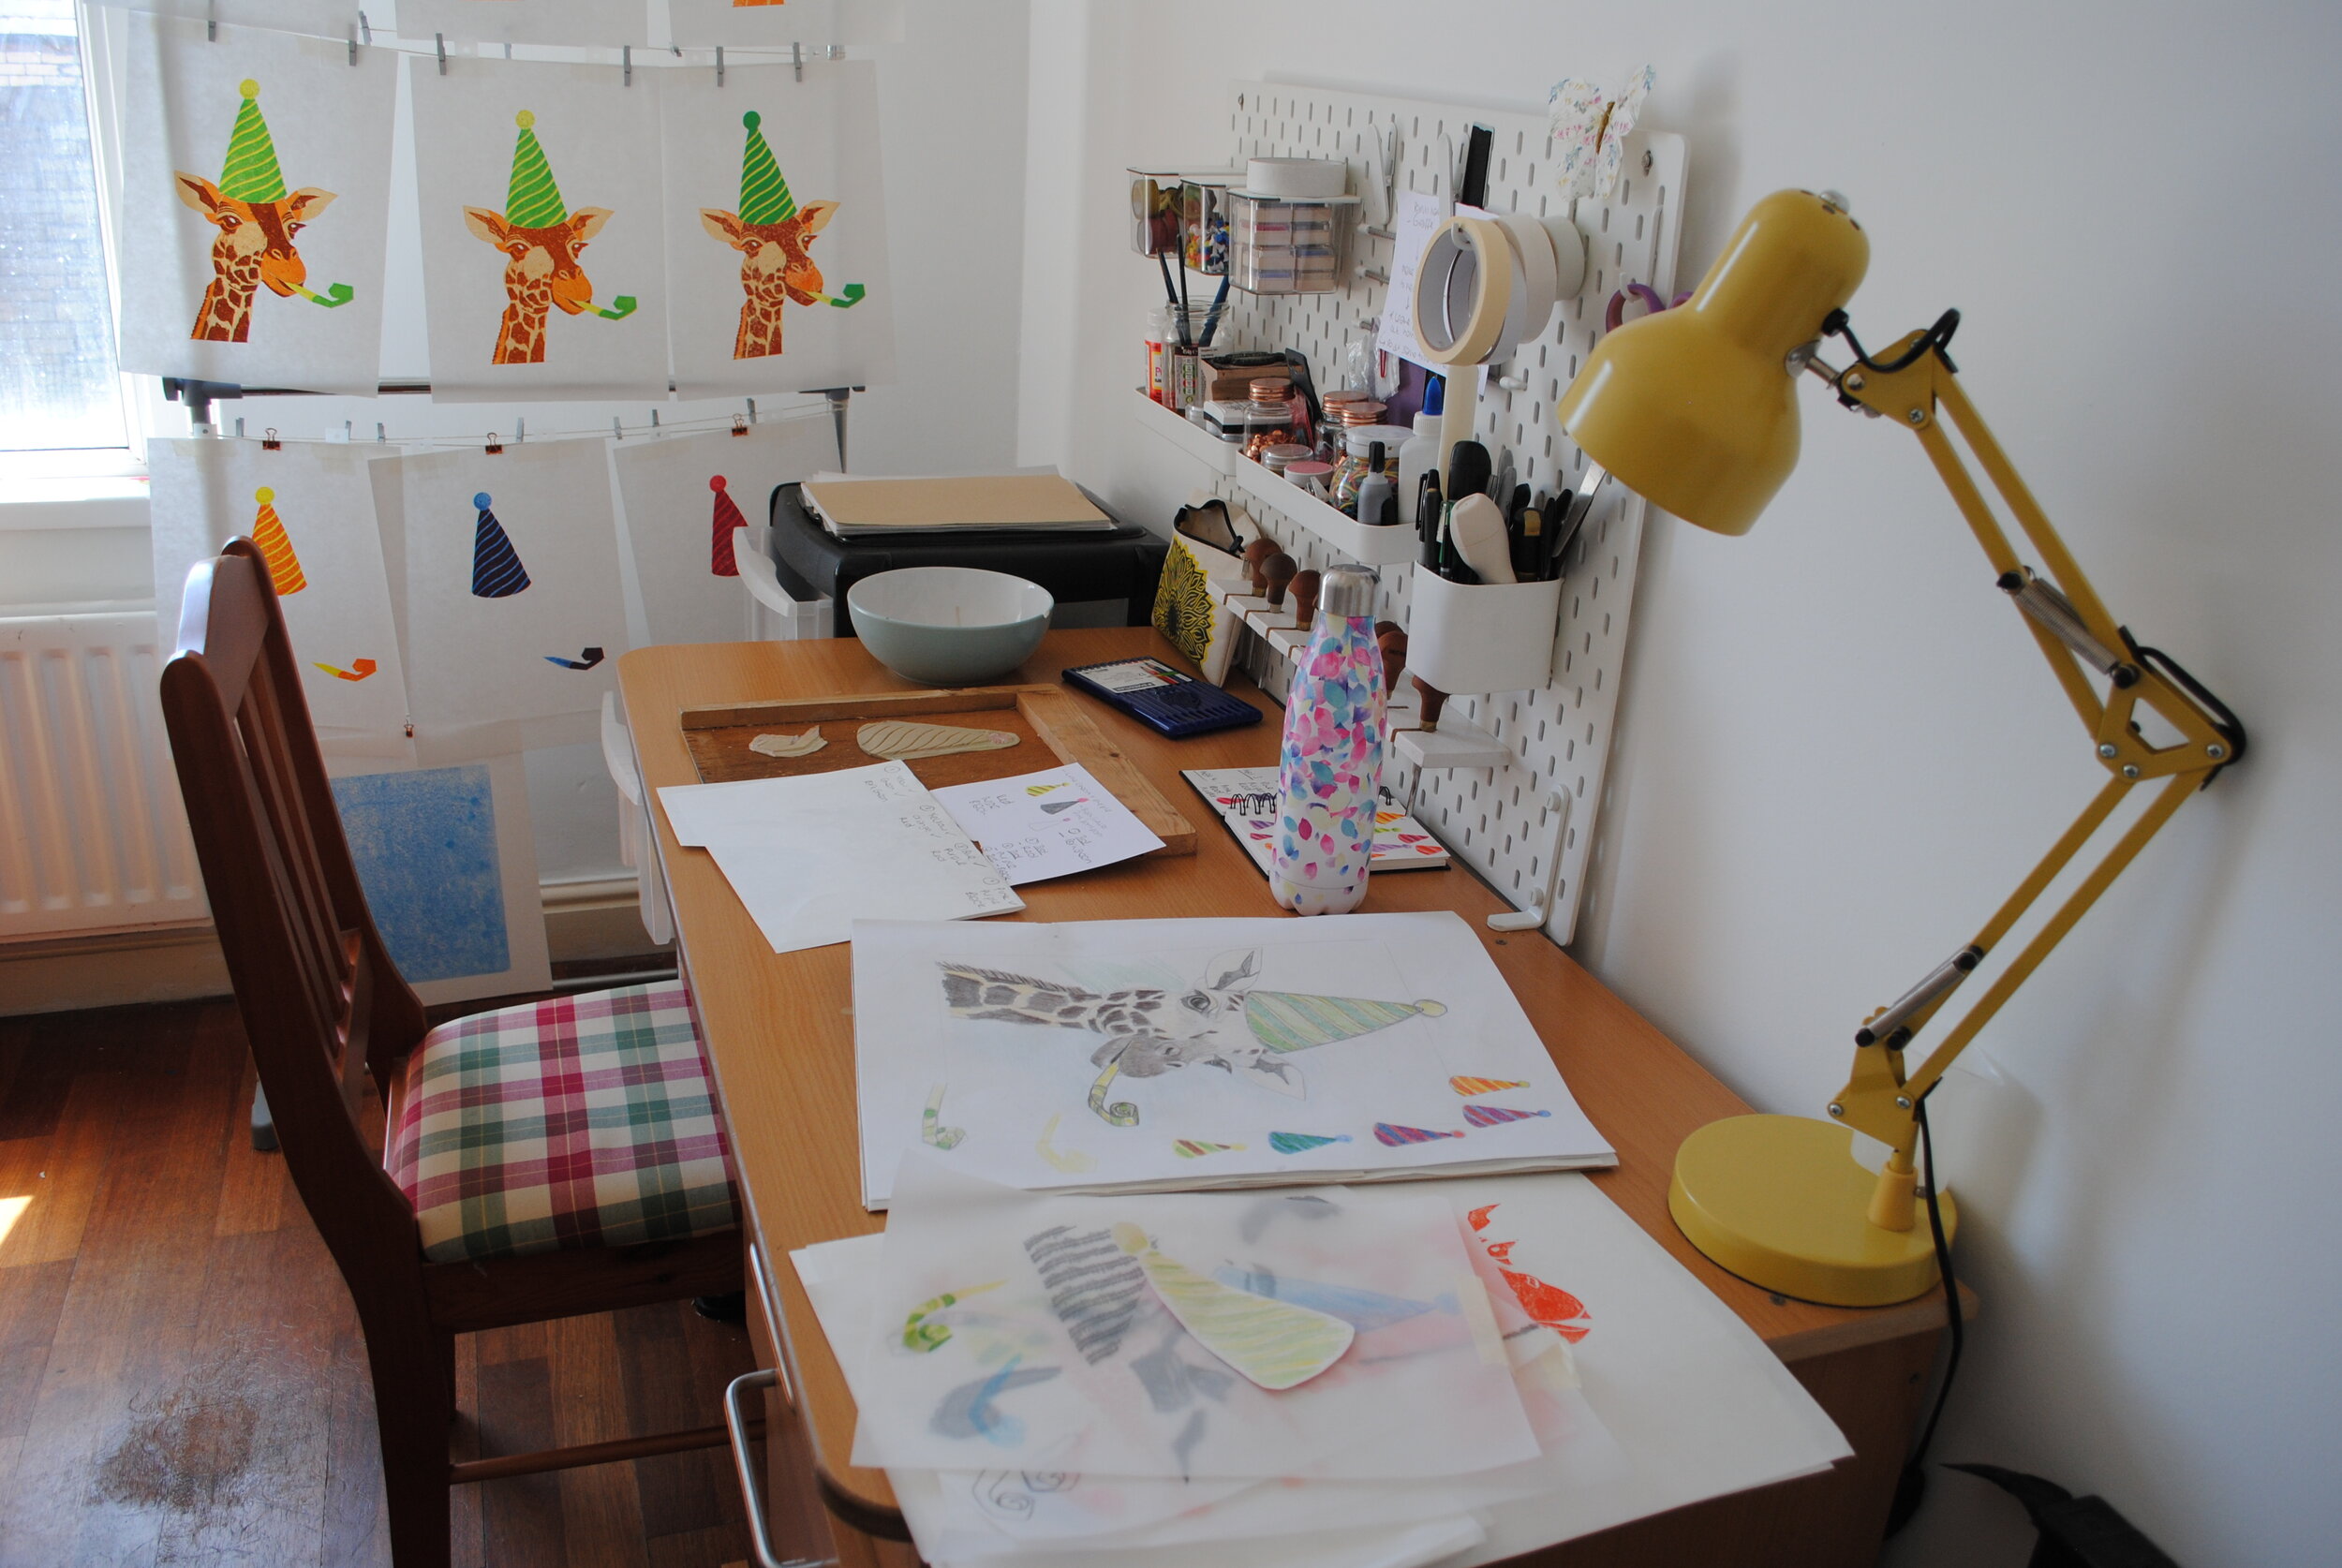
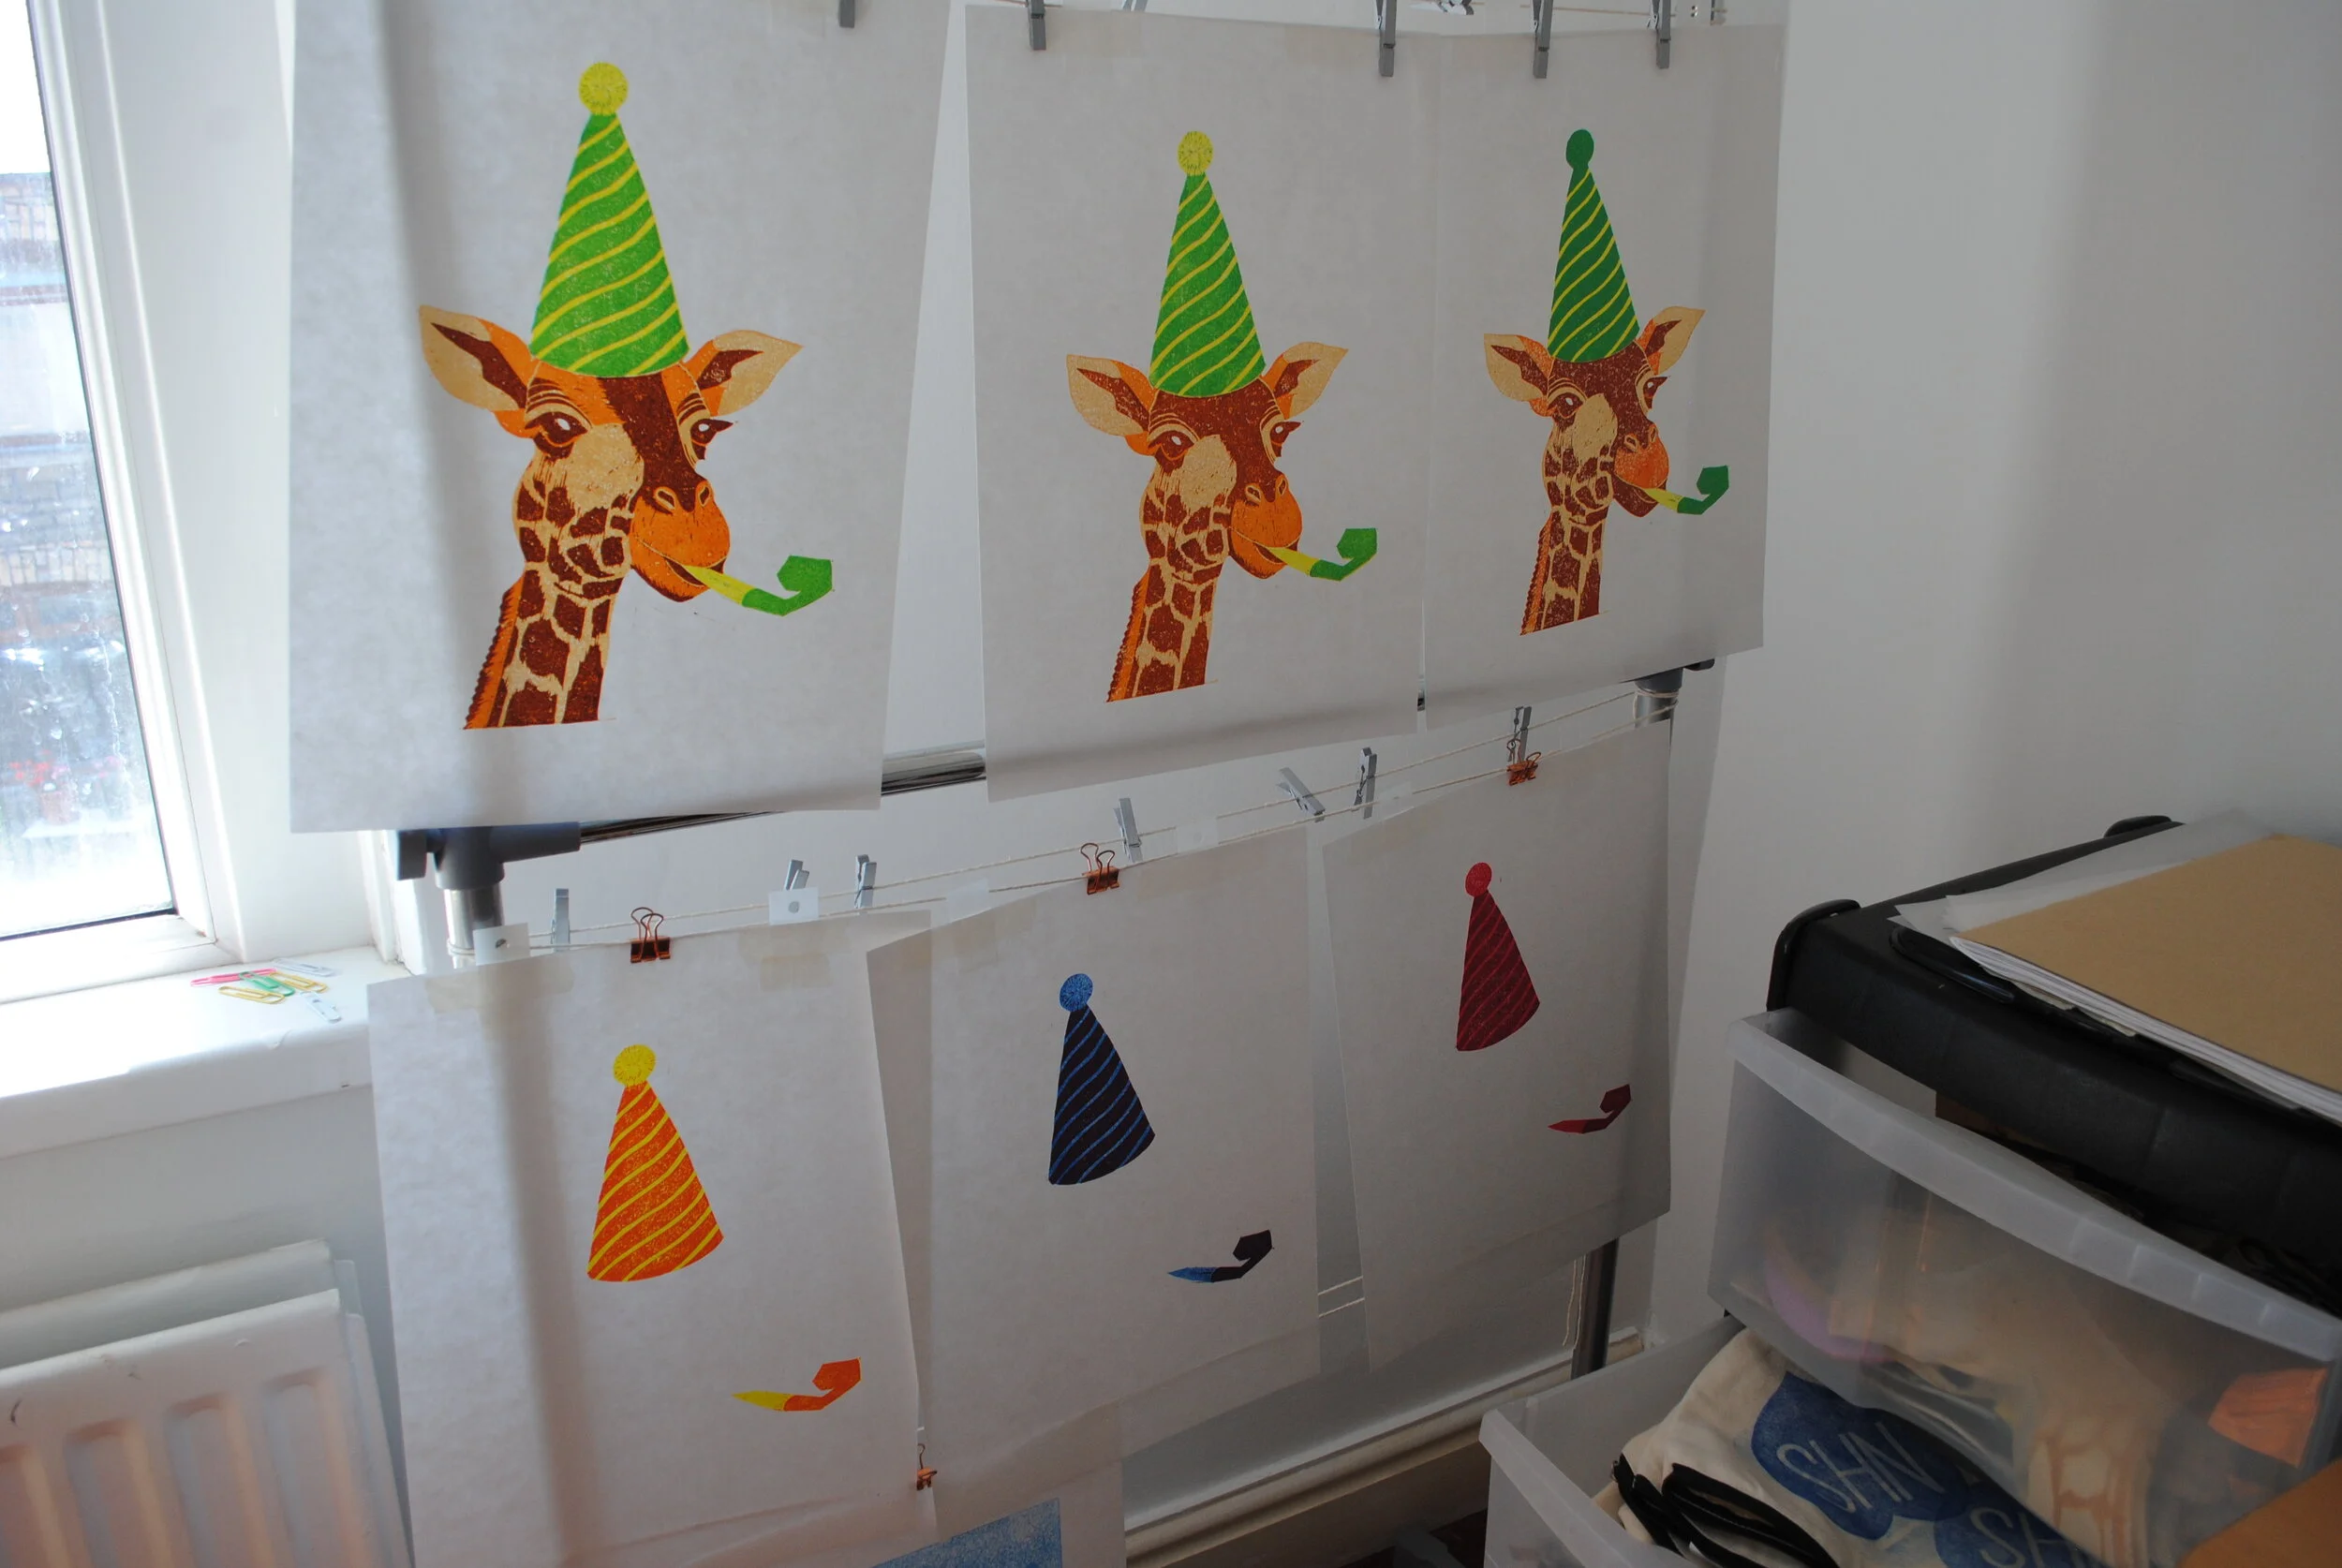
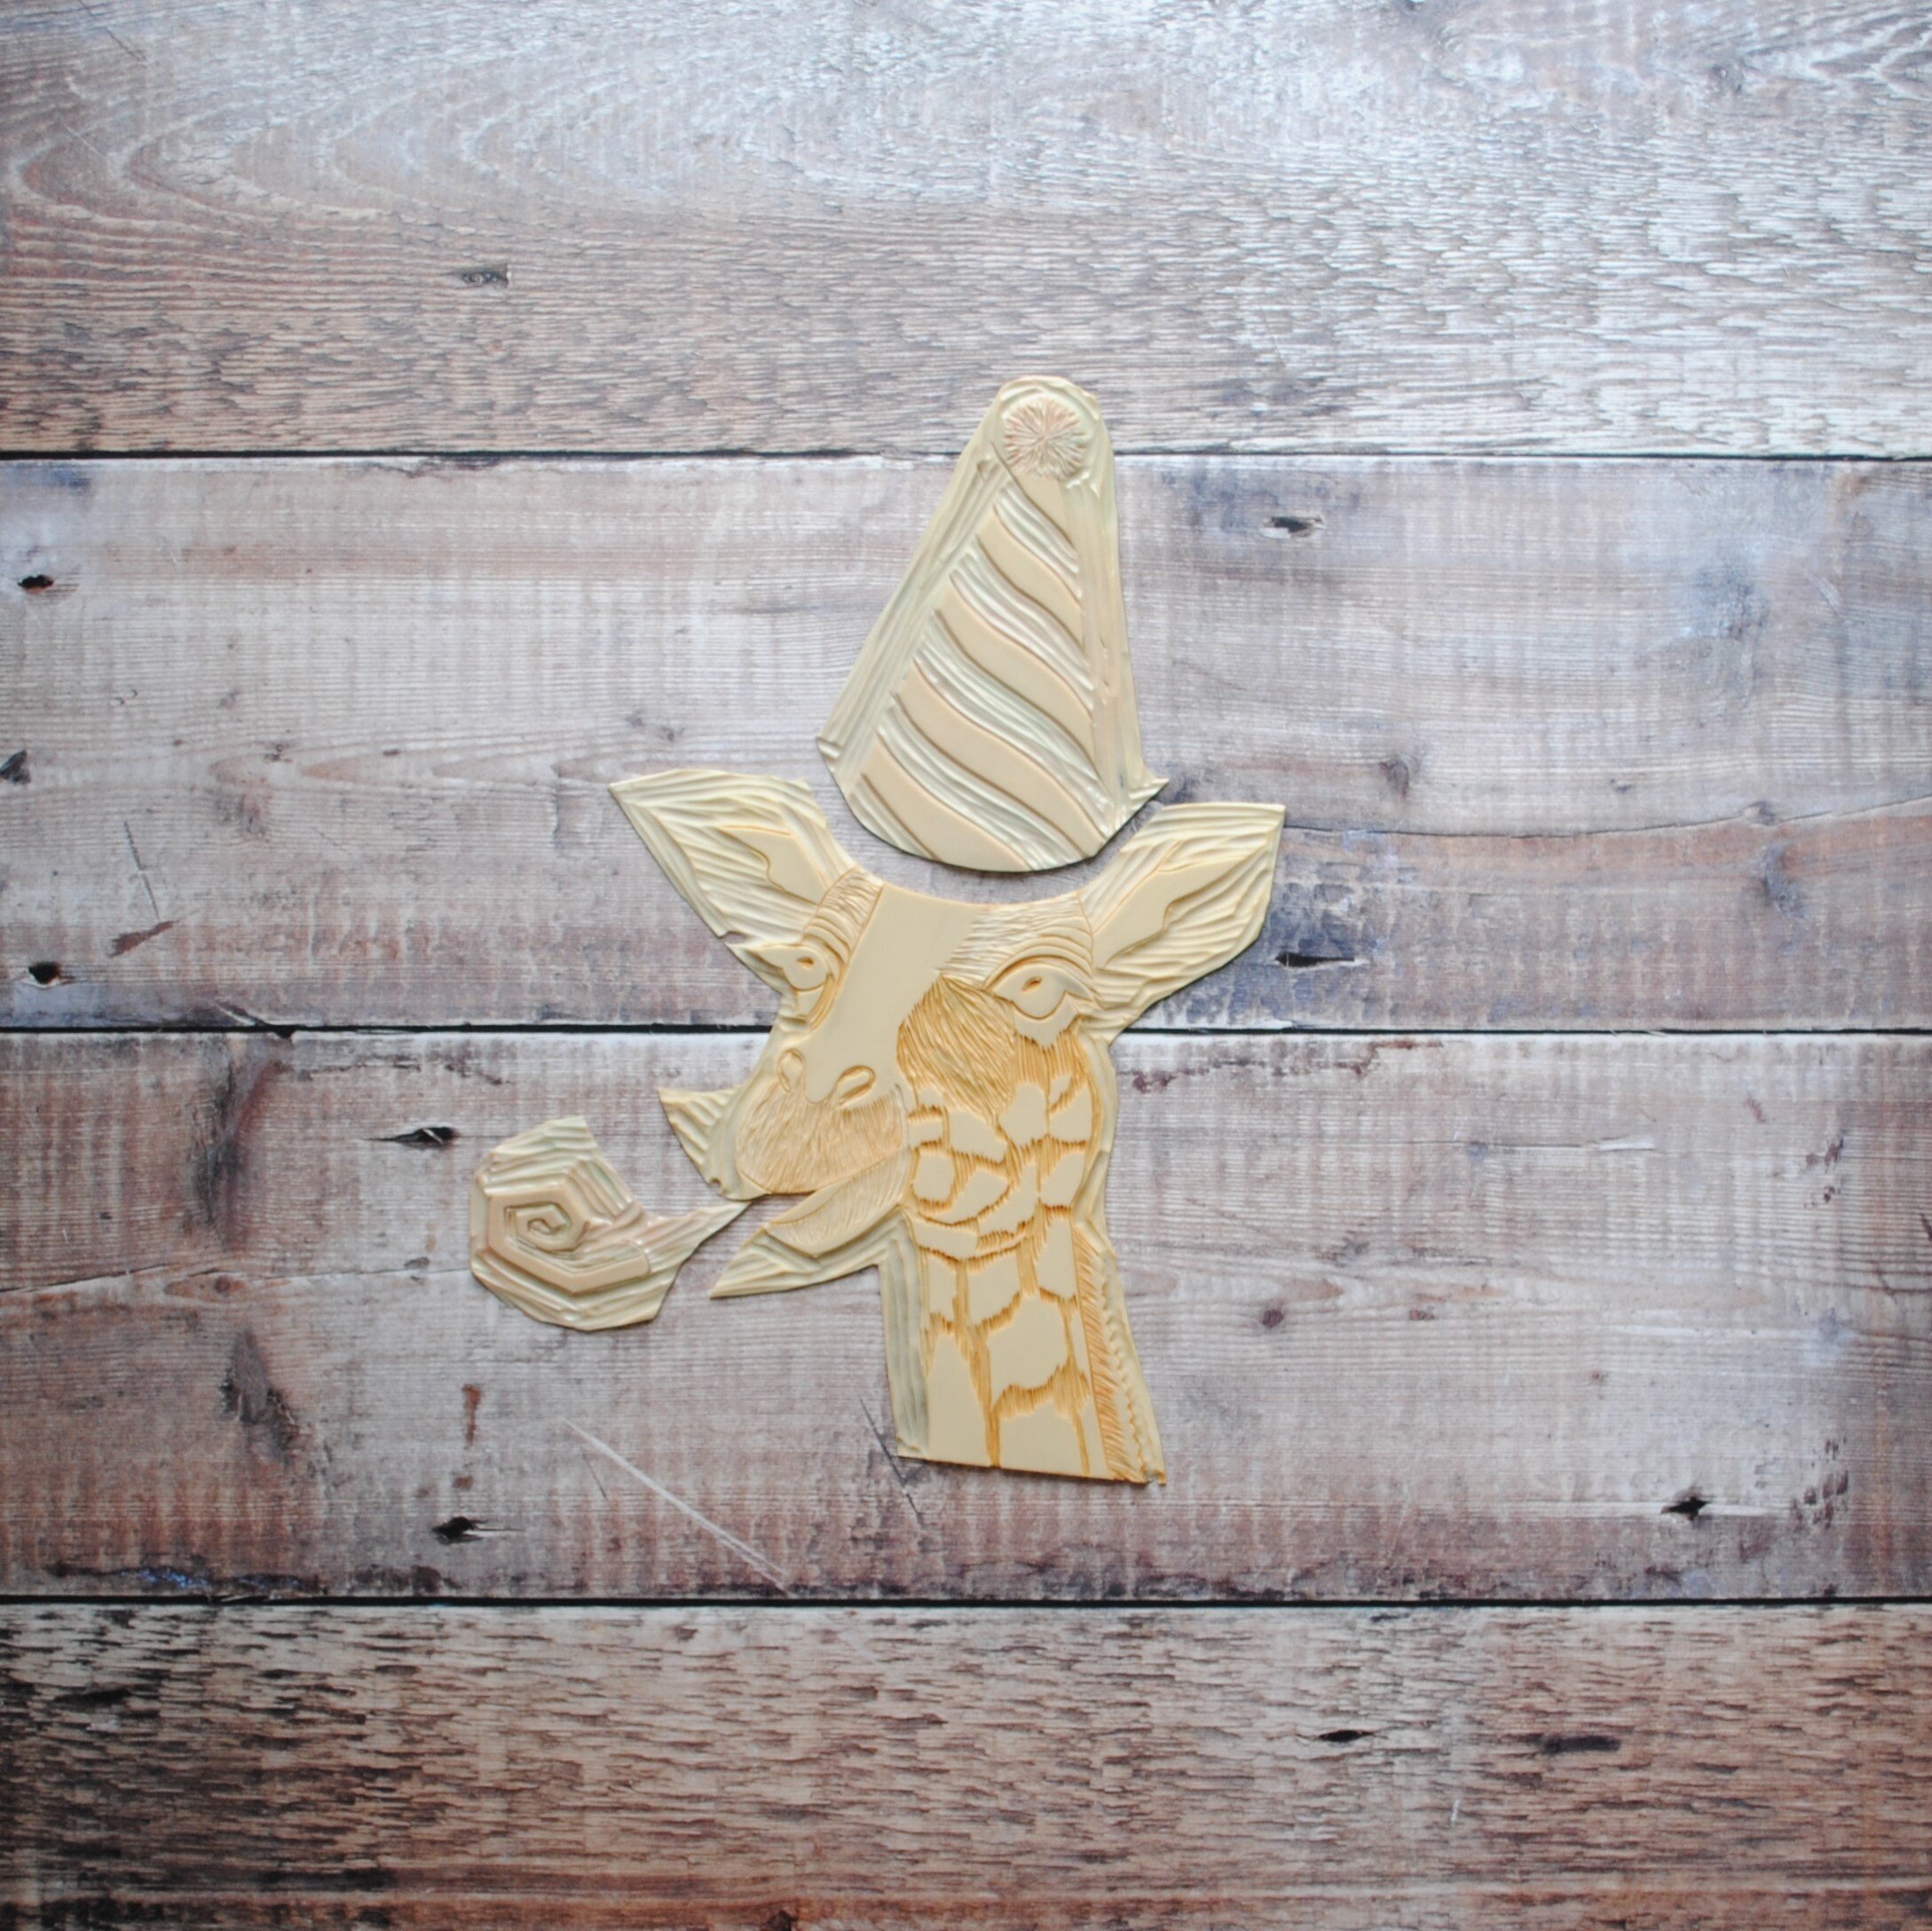
For this print, I used a Reduction Linocut method. This is the method of using just one lino block to create a multi-layer image. Each colour is printed on top of the last colour using the same block. My Party Giraffe print is made up of three colour layer prints on the giraffe, and three colour layer prints on the party hat and party blower. Before I start, I use tracing paper to help me work out how many layers I will need to turn my pencil drawing into a reduction linocut print.
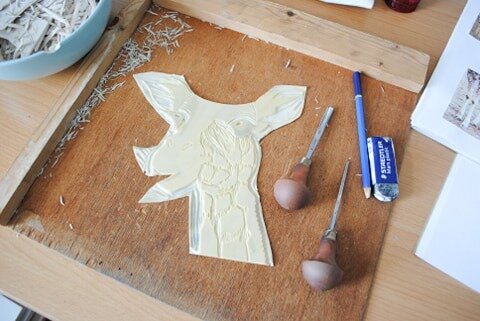
The first colour layer print is the lightest base colour, here I carved around the whole giraffe and also carved away the flecks of white in the eyes. For the second colour layer print, I carved away the areas I wanted to remain the base colour. And then again for the third darkest colour layer print, I carved away the areas I wanted to remain the second colour. To avoid smudging, I leave the print to dry before printing each layer, this means that one final image can often take a few weeks to complete.
Once I finished the Giraffe, I did the same process again for the party hat and party blower. The first layer was yellow, the second layer was light green, and the final third layer was dark green. Along the way, I also printed a few extra party hats and party blowers, which I used to create my gift wrap pattern.
I hope you have enjoyed this insight into how I created my Party Giraffe print. Everything I make is handcrafted with love. From the sketchbook drawing to the reduction linocut carving, all to create my final print. Thank you for reading, and don’t forget my Party Giraffe collection is now available in my shop.
Love Corrina x


